CAPTIVE NUTS AND MORE IN 3D PRINTING : 4 Steps (with Pictures
Por um escritor misterioso
Descrição
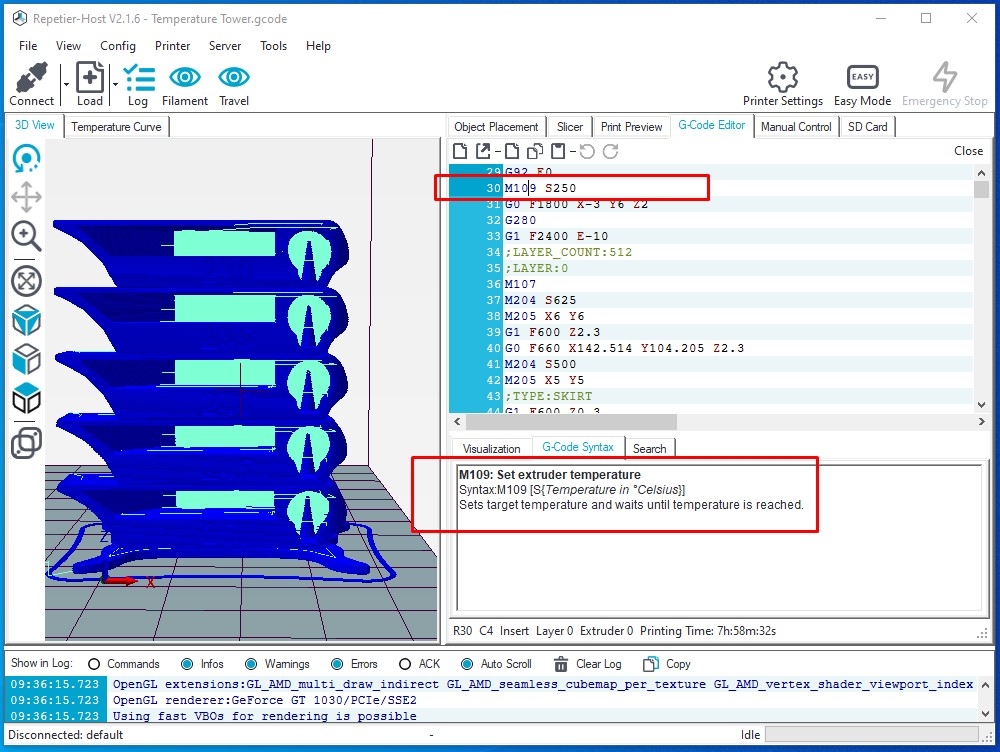
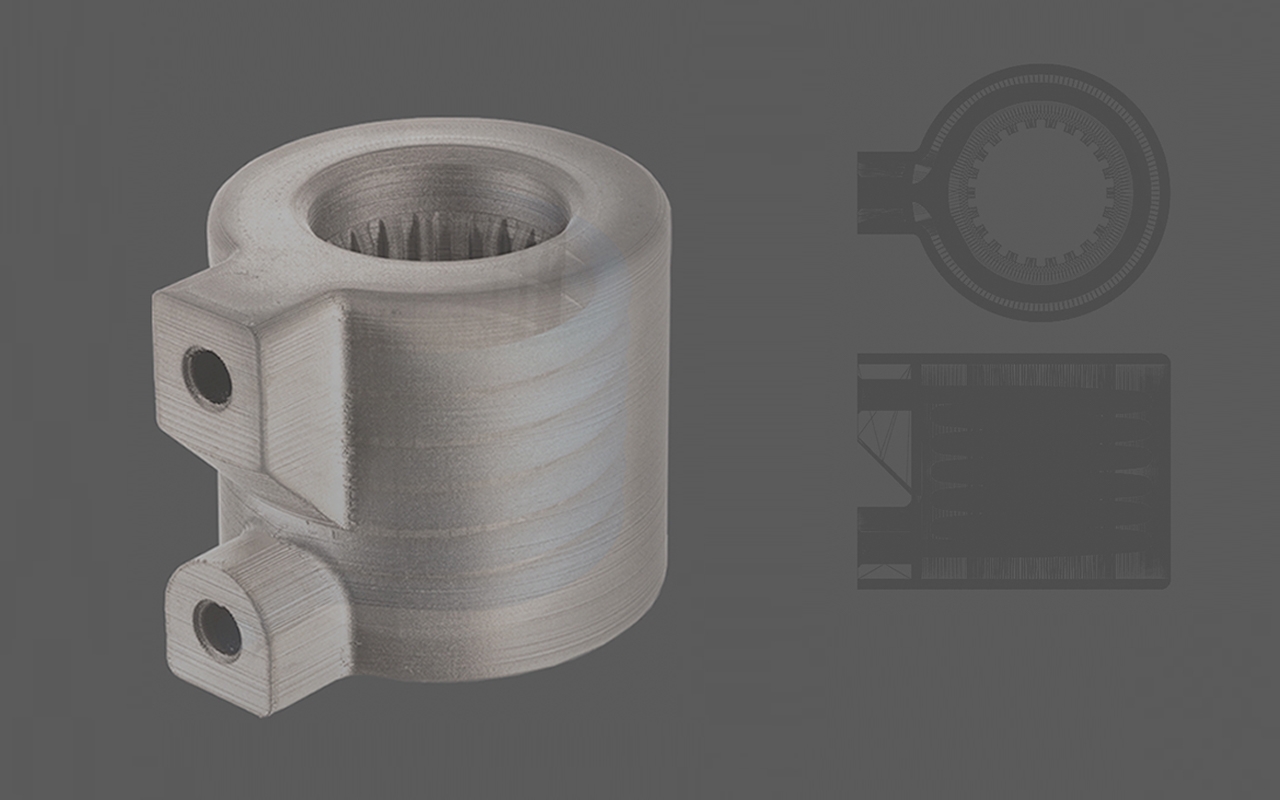
CAPTIVE NUTS AND MORE IN 3D PRINTING: Embedding metal object inside 3D Printed parts is certainly a practice that solve several assembly problems and achieve an higher performance level of our printed objects in terms of: ease of use, clean look as well as higher strength to mechanical …

3D printable optomechanical cage system with enclosure - ScienceDirect

Three Ways to Add Screw Threads to a 3D Printed Part

CAPTIVE NUTS AND MORE IN 3D PRINTING : 4 Steps (with Pictures) - Instructables

Make a Seamless Captive Nut in a 3D Printed Part : 8 Steps (with Pictures) - Instructables
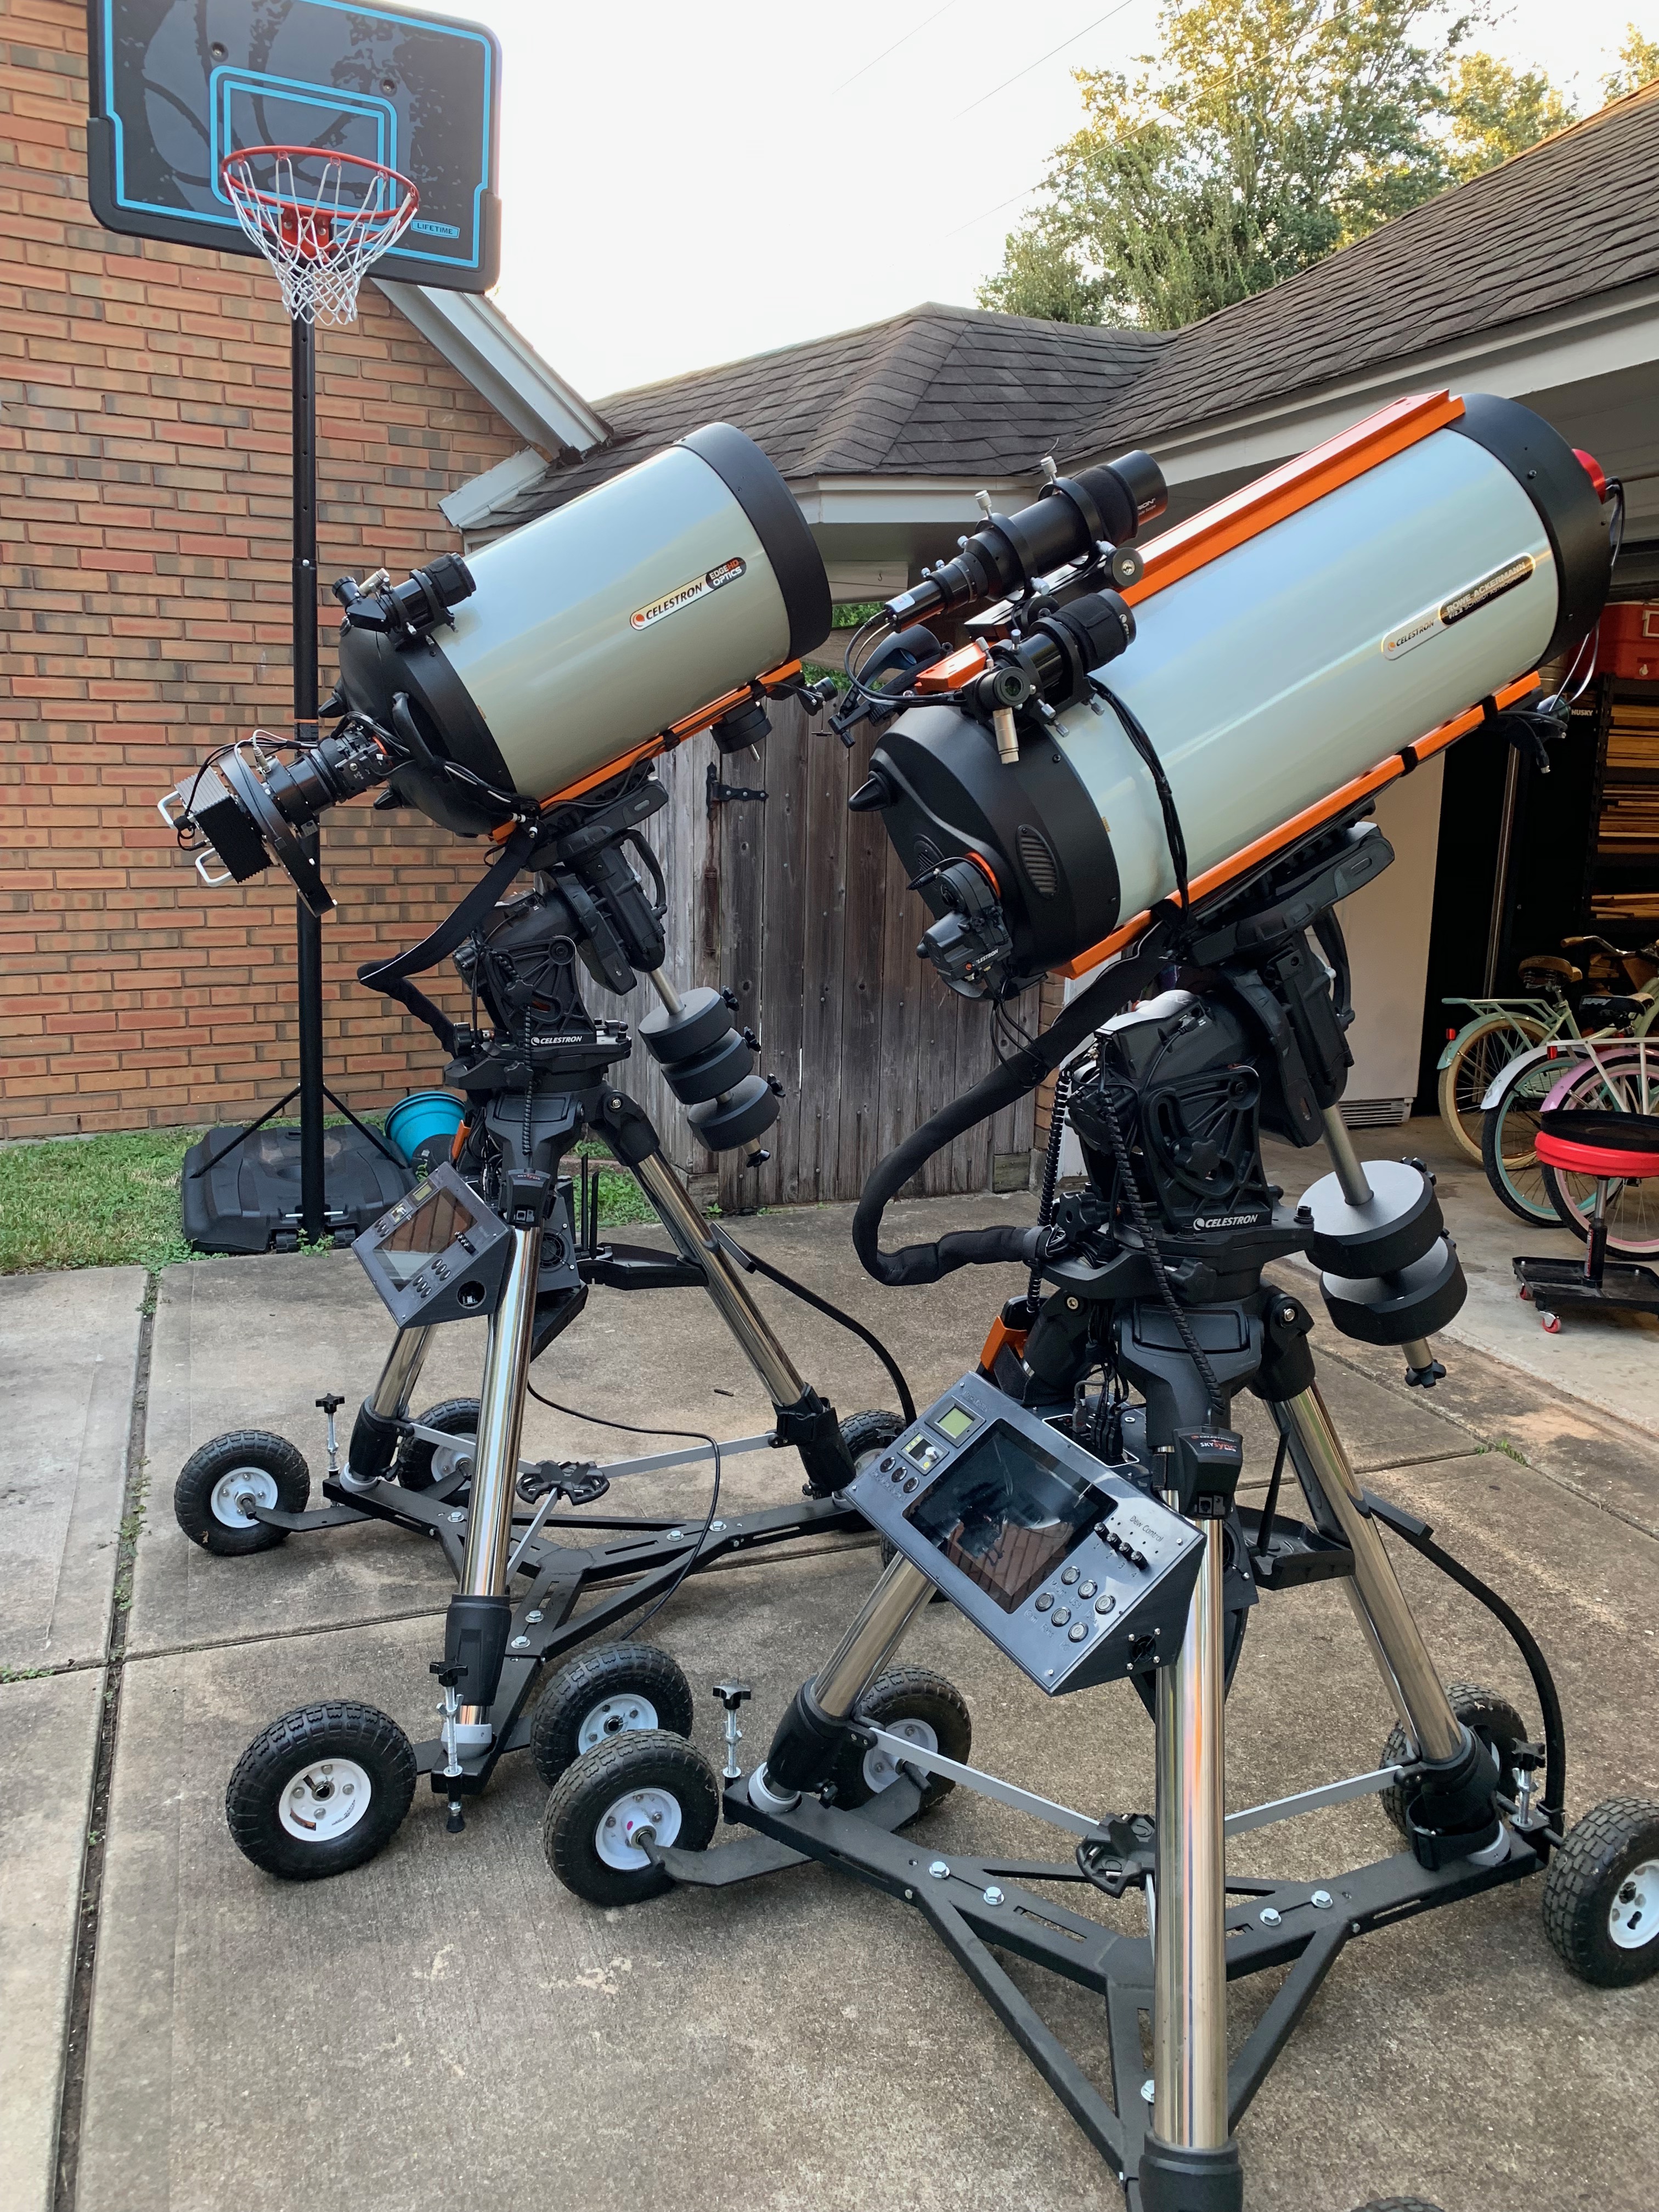
AstroWedge, 3D Printed Telescope Control Console – Event Horizons

Nuts – WestCoast Products

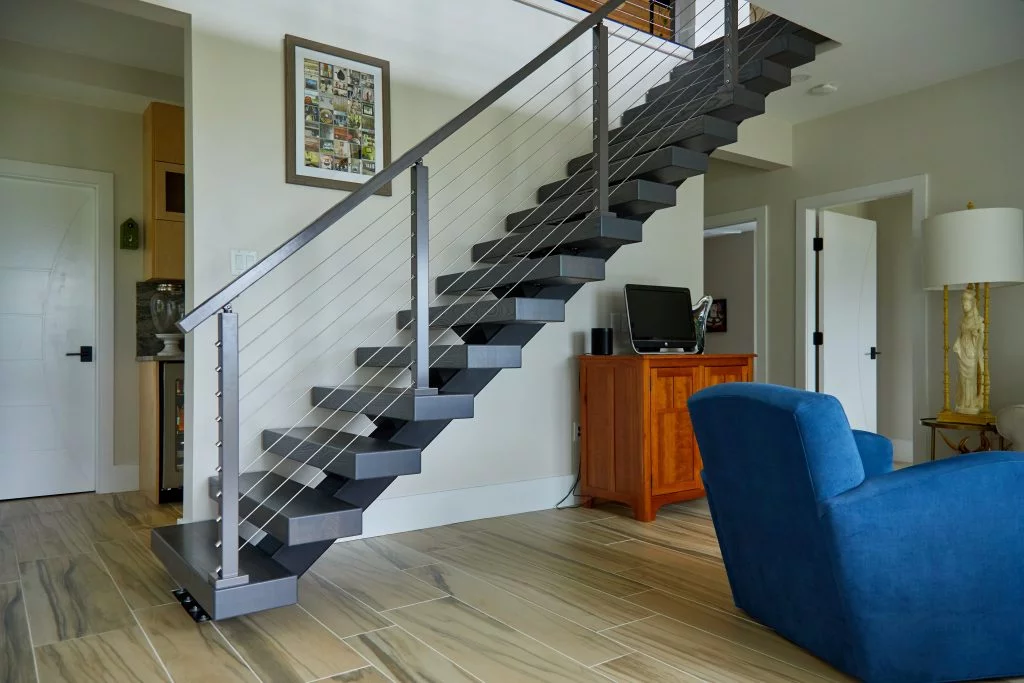
Free 3D file Stacking Step Blocks 🗜️・3D print design to download・Cults

Jeep JL/JT Fender Retention Hardware - American Adventure Lab
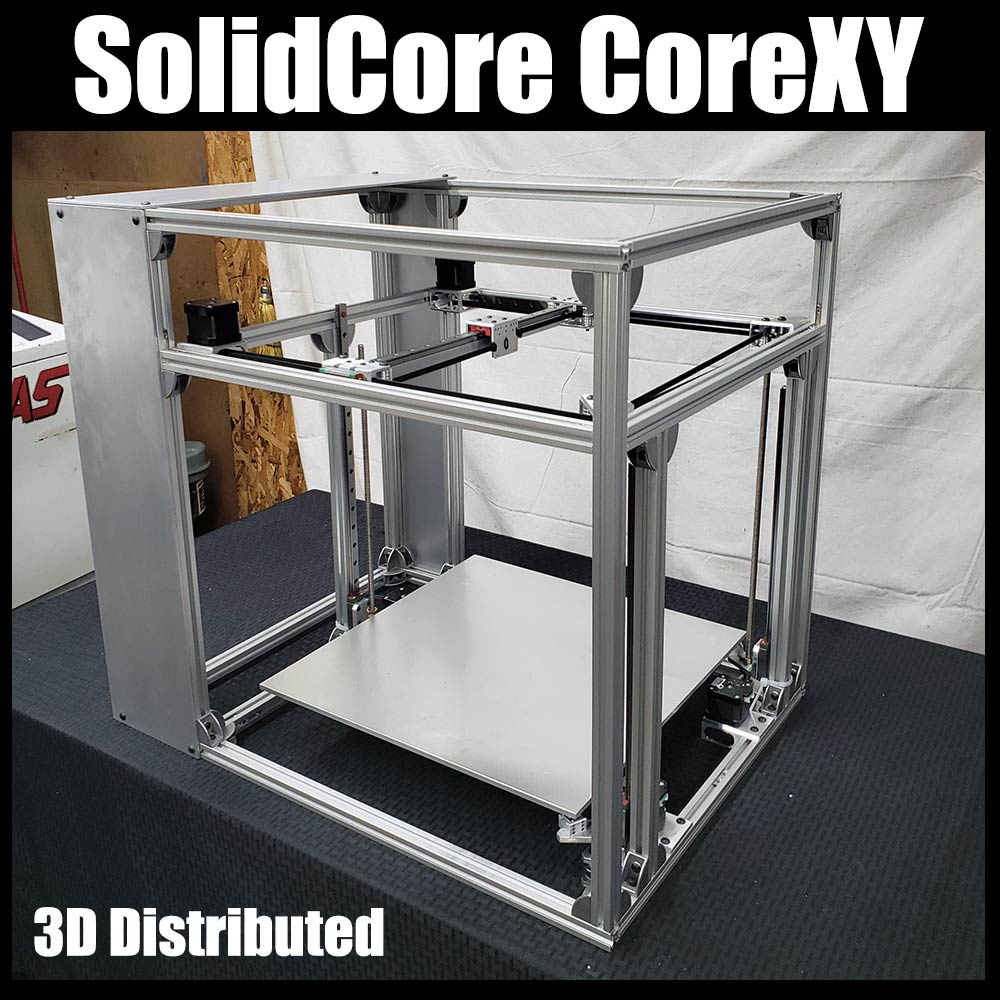
SolidCore CoreXY 3D Printer - 3D Distributed

Hand Adjusting Nuts (3D printer)
3D printed internal channels
de
por adulto (o preço varia de acordo com o tamanho do grupo)